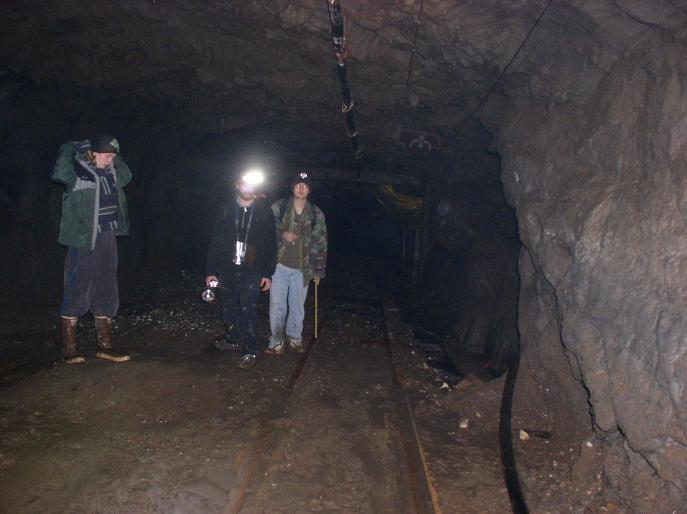
AJ Mine Underground
The Alaska Juneau mine in its present form includes all the workings of the former Ebner, Perseverance, and Alaska Gastineau mines, as well as the original AJ mine. Together with a few new tunnels drilled by Echo Bay in the 1980s and 90s, these systems make up over 120 miles of passage on approximately 23 levels. The system has been a target for local explorers ever since its abandonment at the onset of WWII, as seen by grafitti ranging from 1942 to 2004. Unfortunately, access is getting more difficult and more dangerous with collapses and internal damage. Today, casual explorers are discouraged by the long grueling hikes into the mountains and the difficult technical rope work required to access the mine. While I can provide hints to other explorers, this is not an exploration for beginners.
Some related explorations and earlier investigations of the mine can
be seen on the following pages. Some day I'll reorganize all this, but
I'm pretty lazy.
AJ rail shops, glory hole, and Gold Creek Adit.
Sheep Creek Adit.
AJ Mill and related small tunnels.
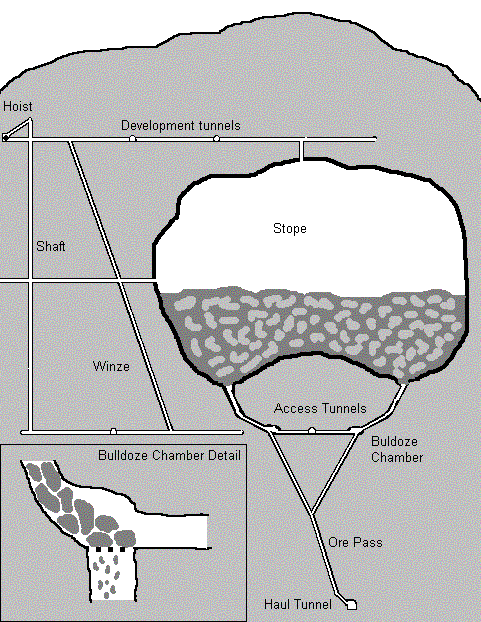
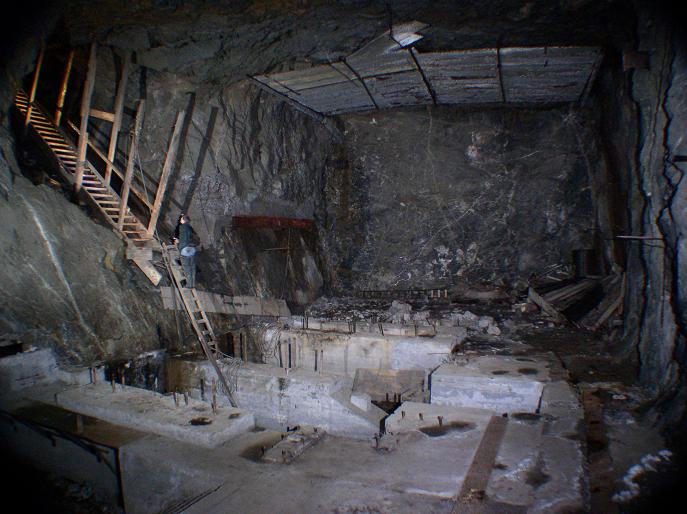
This diagram attempts to explain the general layout of a hard rock
mine like the AJ. Stopes are a major feature, essentially being large
caverns where rock has been
blasted out to provide the bulk of the ore. Tunnels filled with dynamite
are detonated to break up rock in a stope, and larger rocks are dropped
into bulldoze chambers
where they are then blasted into smaller chunks to pass down to loading
chutes. All of these components are common sights in the mine, although
the intermediate
bulldoze chamber levels are often harder to access. The stopes themselves
often collapse all the way to the surface, and are then referred to as
Glory Holes. For various
reasons I have no pictures of stopes, mostly because the only
one found so far was small, and we were holding out for an as yet undiscovered
huge one.
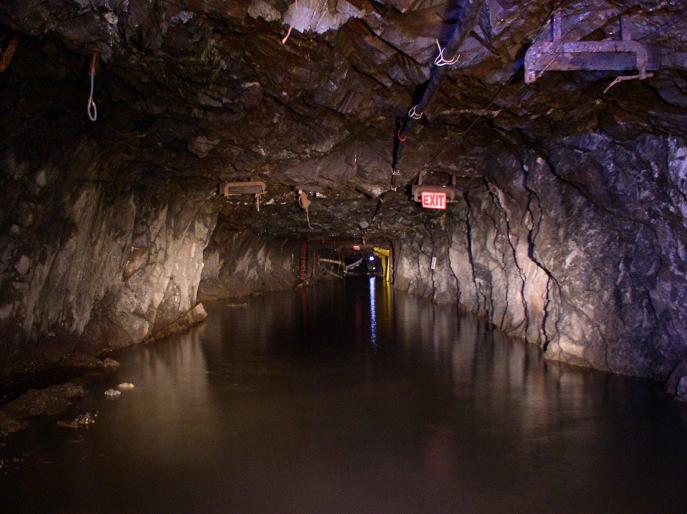
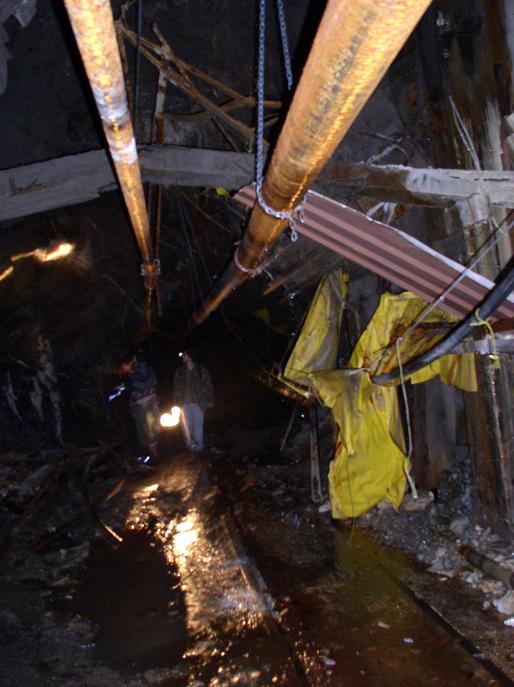


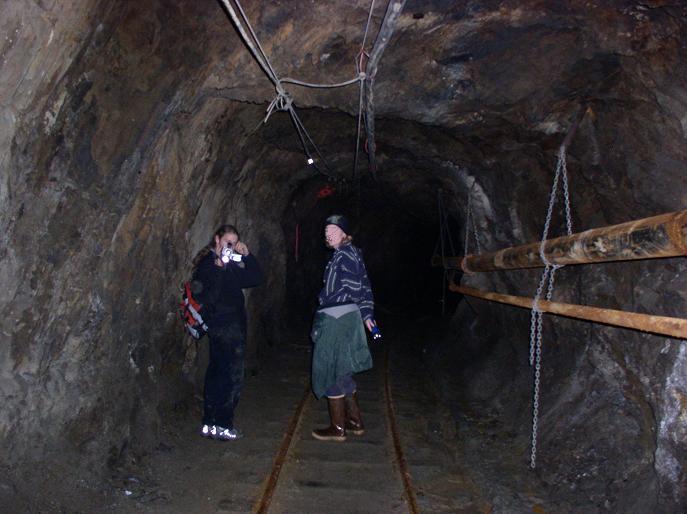
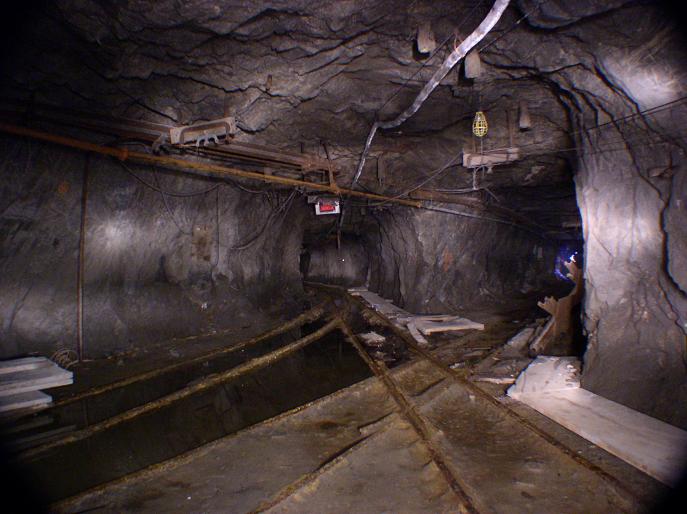
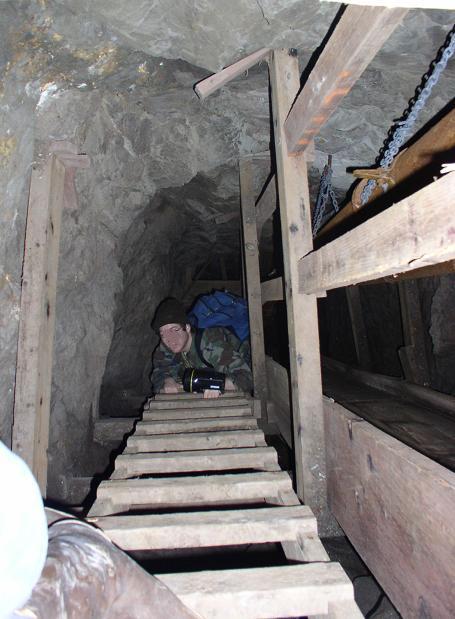
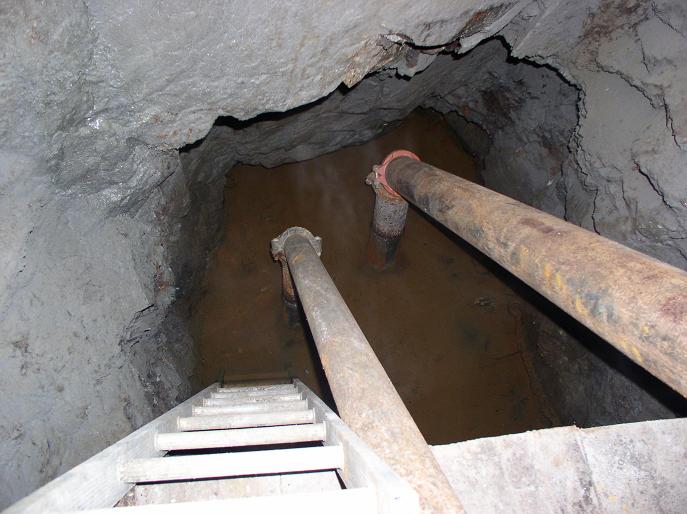
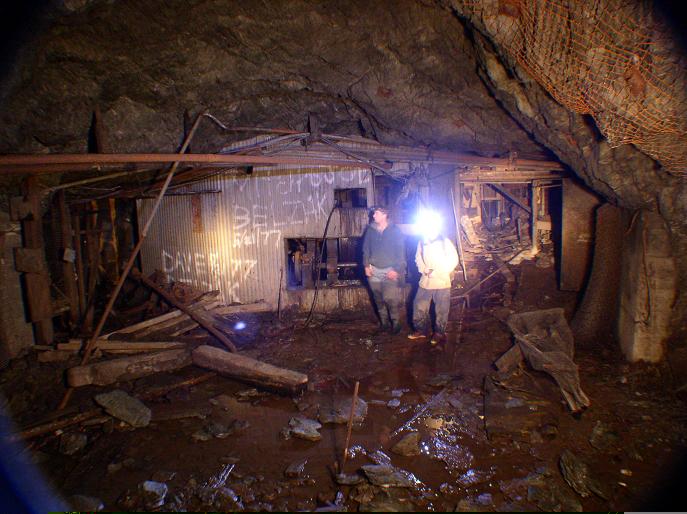
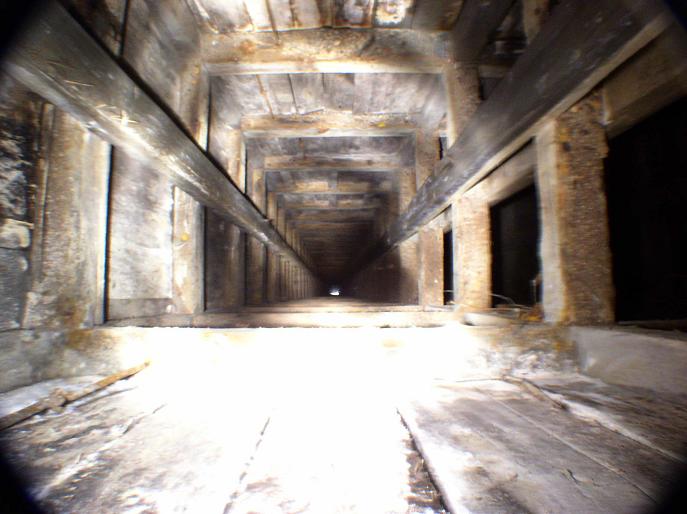
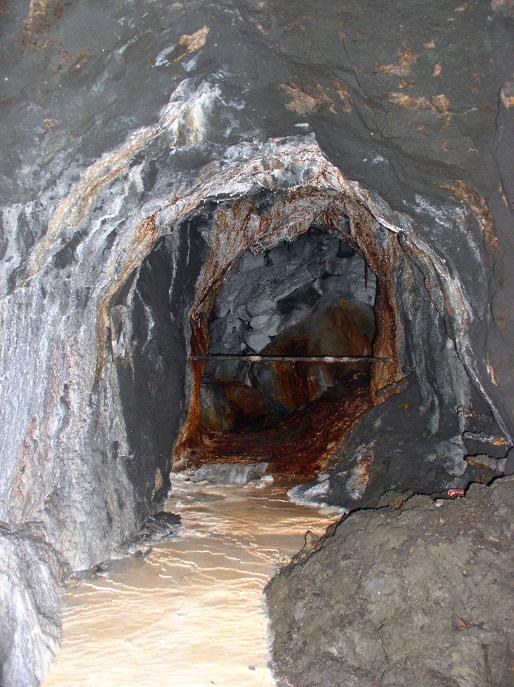
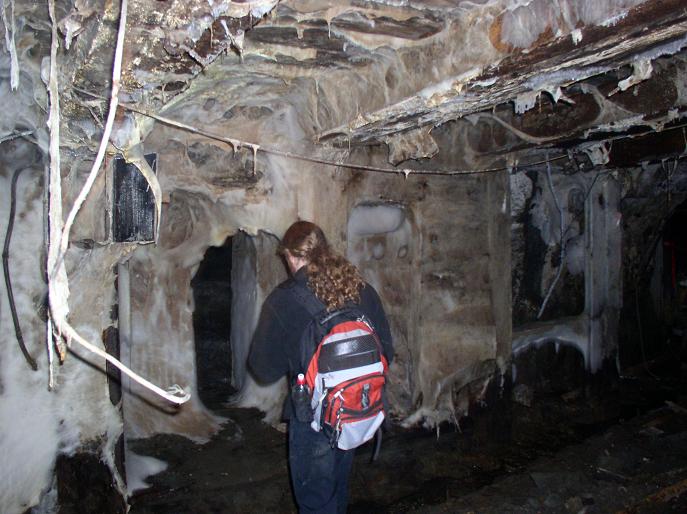
Although many of the tunnels are similar in appearance, the terrain
varies significantly. Mud and water are frequent obstacles, although collapses
can
also cause problems. A few tunnels have been stabalized with wire mesh
and rock bolts, and waterfalls from loading chutes are sometimes blocked
by tin or plastic.
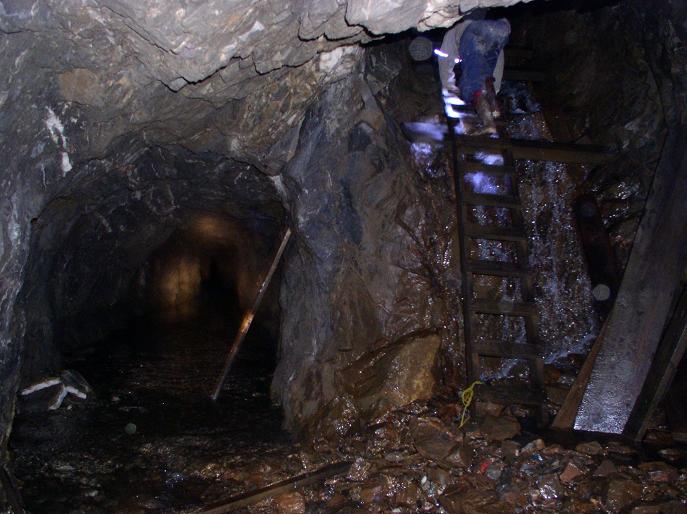
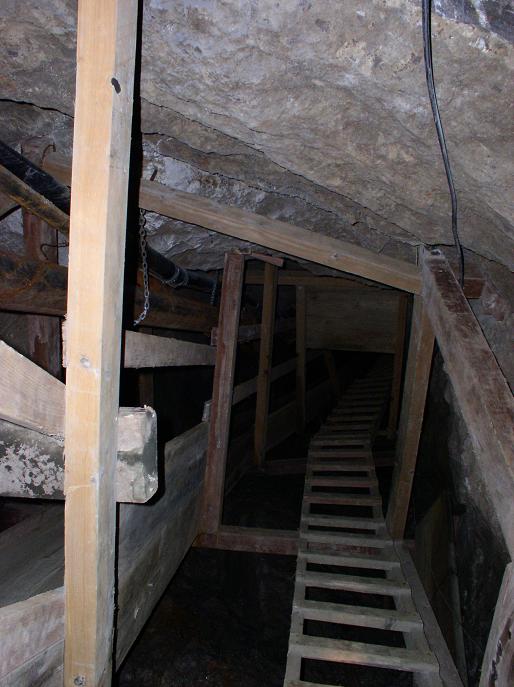


Much of the mine's complexity comes from the 23 or more interconnected
levels. Access between these is usually by means of rusty metal ladders,
which
are too dangerous for modern explorers to attempt. Fortunately, a few
of the more interesting shafts, raises, winzes, and manways have been equipped
with
modern pressure-treated ladders which are rot resistant and more reliable.

The AJ Main Shaft has an impressive elevator cage and interchangable
rail-capable elevator cars. Peering down, one can see water well below
the level of the
drain tunnel, suggesting that part of Deep North is still dry. Near
major winch shafts one can find large chambers which once housed hoist
motors and gears.
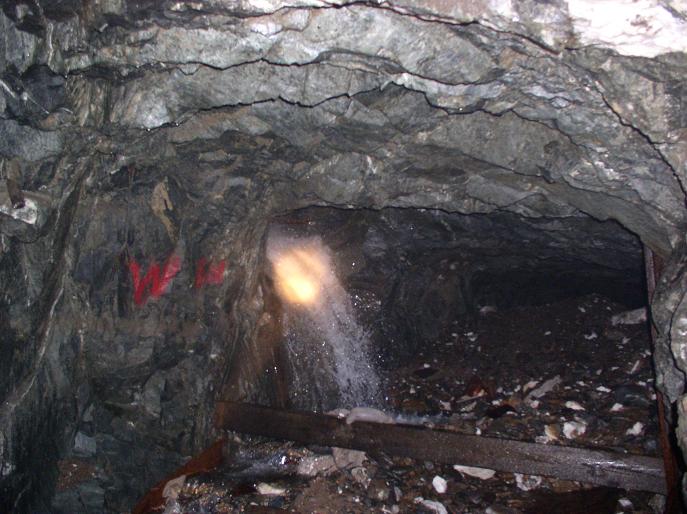
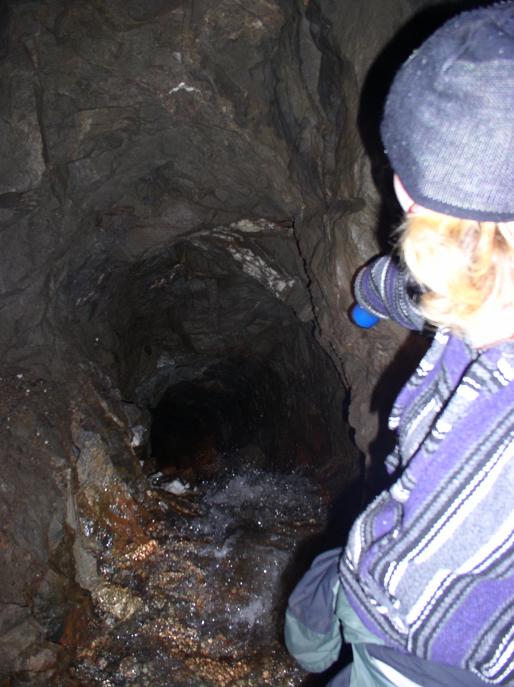
Water pouring in from the AJ Glory Hole, and a shaft down to the underground
river of the Gold Creek Drainage Tunnel.


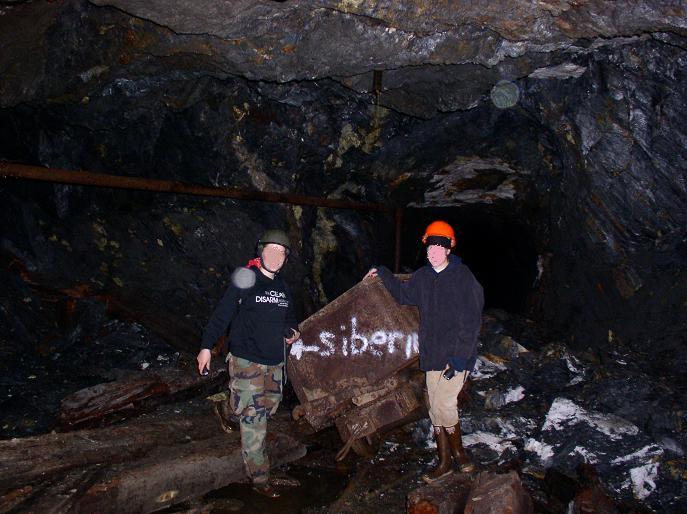

Only one narrow gauge crew car was found, although a number of them
can be found rusting away in Last Chance Basin near the mining museum.
Smaller mine-gauge ore carts can be found all over the mine, usually
in smaller levels where they were pushed by hand.
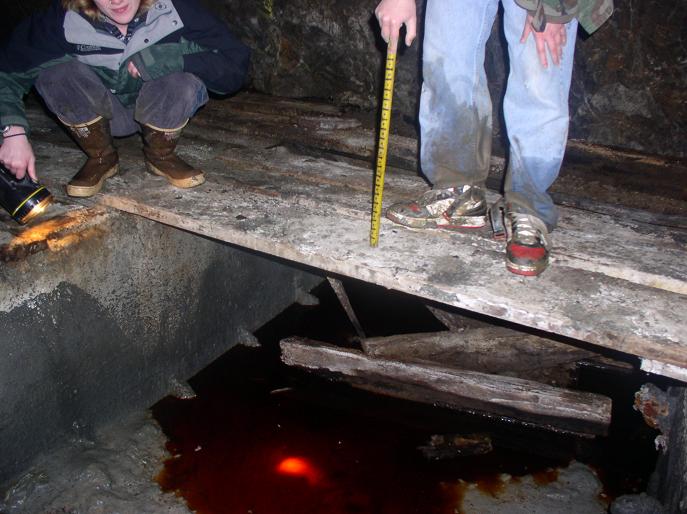
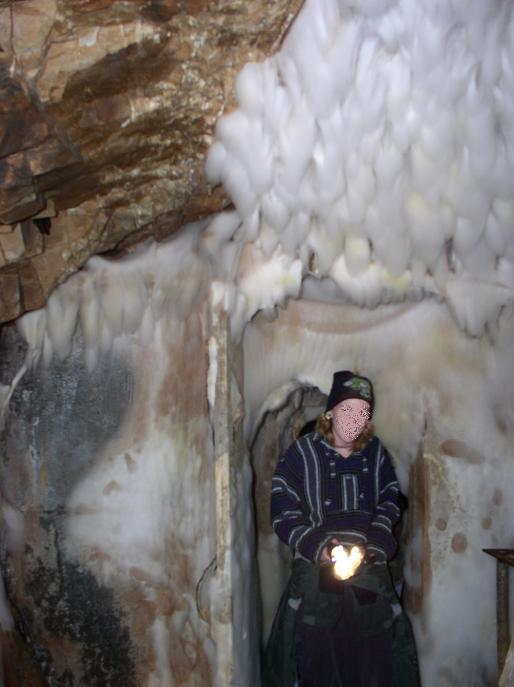
Interesting features include pools of "blood", calcite cave formations,
and The Mold From Hell (which will beat you up for your lunch money).

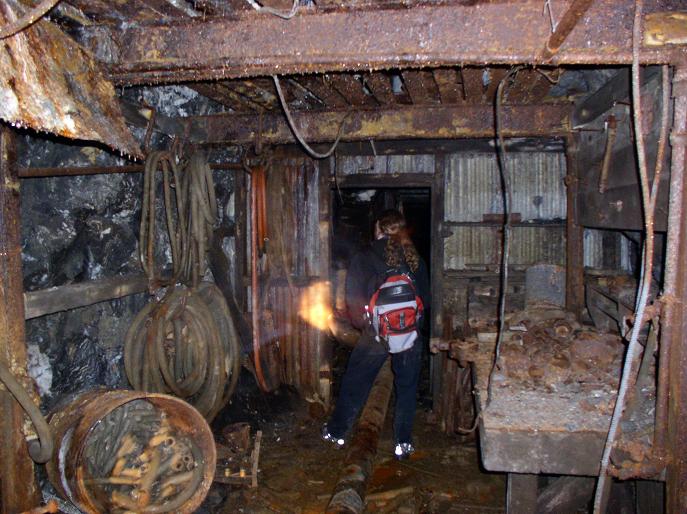
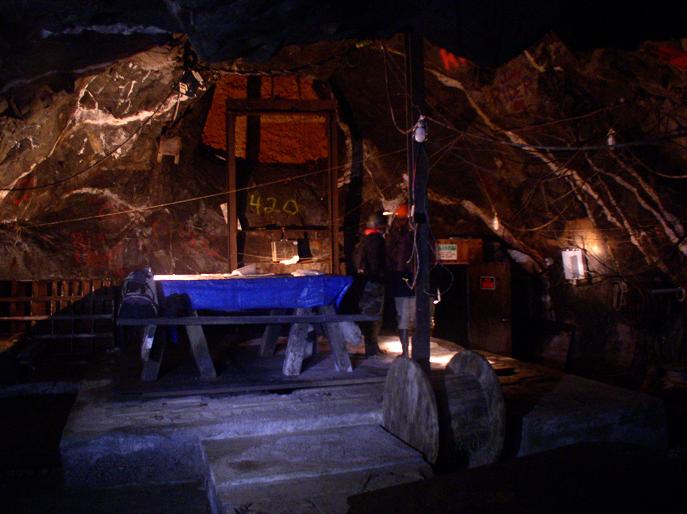
Some original tools and spare parts mixed with Echo Bay leftovers.
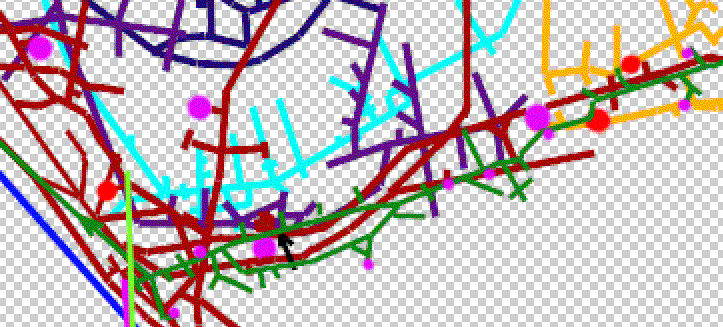
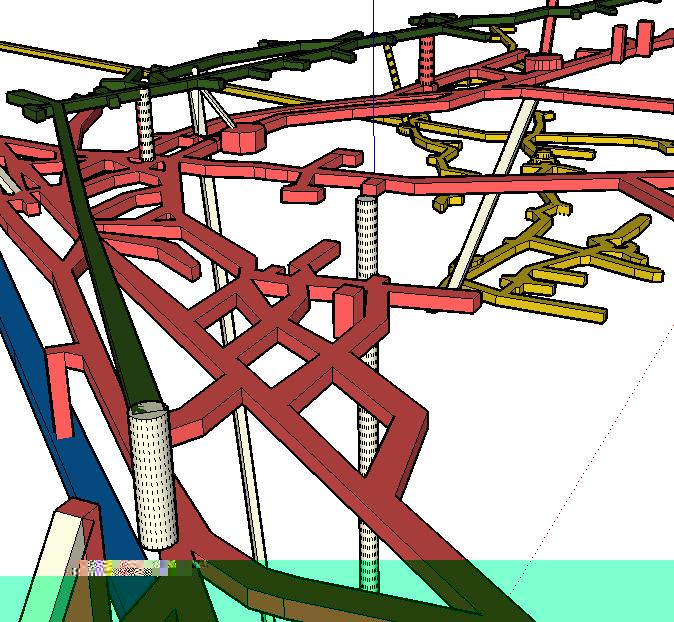
Mapping such a huge complex presents some interesting challenges. Traditional
color-coded level plans soon run out of colors, so I have
begun mapping available data in 3D to get a better overview of the
system. My maps are sometimes available on request, email freak20[at]email[dot]com.